A Step-by-Step Guide: How to Flush a Water Heater
7/27/2023 (Permalink)
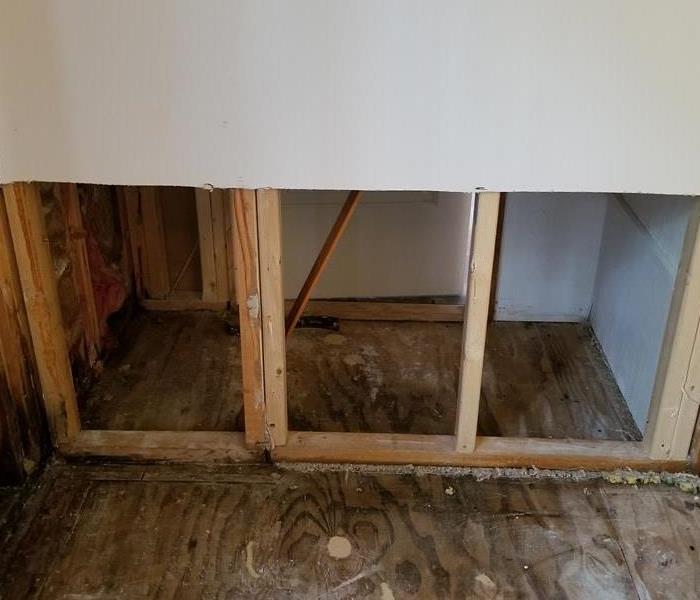
 Ensuring you have a properly working water heater can help prevent water damage in your home or business.
Maintaining your water heater is essential for its longevity and efficiency. Over time, sediment and mineral deposits can accumulate in the tank, reducing its heating capacity and potentially damaging the system. Flushing your water heater regularly helps to remove these deposits and ensure optimal performance. In this blog post, we'll guide you through the process of flushing a water heater, step by step.
Step 1: Safety Precautions
Before you begin, it's important to take some safety precautions:
- Turn off the power: If your water heater is electrically powered, switch off the circuit breaker dedicated to the heater. For gas-powered heaters, set the thermostat to the pilot position.
- Allow the water to cool: Flushing a water heater requires handling hot water, so give it ample time to cool down to avoid scalding injuries. It's best to perform the task in the morning or early afternoon to allow sufficient cooling time.
Step 2: Gather the Necessary Tools and Materials
To flush your water heater, you'll need the following items:
- Garden hose: Ensure that it's long enough to reach from the water heater to a nearby drain or outside.
- Adjustable wrench or pliers: You'll need these tools to disconnect and reconnect the hose.
- Bucket or a large container: This will be used to collect the flushed water and sediment.
- Safety goggles and gloves: Protect yourself from potential splashes and debris during the process.
Step 3: Locate the Drain Valve
The drain valve is usually located near the bottom of the water heater. It typically resembles a faucet or a hose bib. Once you've located it, ensure that the area around the valve is clear of any obstructions.
Connect one end of the garden hose to the drain valve. Ensure it is tightly secured to prevent leaks. Place the other end of the hose at a suitable drain location or outside where the water can safely flow.
Step 5: Open the Drain Valve
Carefully open the drain valve by turning it counterclockwise. This will allow the water to start flowing out of the water heater and through the hose. Be cautious as the water may be hot and contain sediment.
Step 6: Flush the Water Heater
Allow the water to flow through the hose for about 5-10 minutes, or until it runs clear. This process helps to flush out the accumulated sediment and mineral deposits from the tank. The water may appear discolored at first but should gradually clear up.
Once the water runs clear, close the drain valve by turning it clockwise. Ensure it is tightly closed to prevent any leaks.
Step 8: Refill the Tank
Remove the hose from the drain valve and close the valve securely. Turn on a hot water tap in your home to allow air to escape from the system. This will help prevent airlocks when refilling the tank. Now, turn on the water supply to refill the tank.
If you had turned off the power supply, now is the time to restore it. Switch on the circuit breaker for electric heaters or set the thermostat back to the desired temperature for gas-powered heaters.
Regularly flushing your water heater is a simple yet crucial maintenance task that can significantly extend its lifespan and ensure efficient performance. By following the step-by-step guide outlined above, you can easily flush your water heater and remove sediment and mineral deposits, thereby improving its overall efficiency. Remember to exercise caution, follow safety measures, and consult the manufacturer's instructions for specific guidance. With proper maintenance, your water heater will continue to provide reliable hot water for years to come.


 24/7 Emergency Service